
A little late in the game as Power Virtual Agent is already in Public Preview and trials are available, but I wanted to demonstrate how easy it is to create a bot, publish it and add it to your Power Apps Portal page.
Power Virtual Agents allows user to quickly and easily create powerful bots using a graphical no-code graphical experience. To start creating our first bot, we navigate to powerva.microsoft.com or aka.ms/TryPVA which will redirect to powervirtualagents.microsoft.com.
Sign in to your account or Sign up for a trial, and you will be ready to start developing your first Bot. The Home Screen of Power Virtual Agents is similar to other Power Platform applications. On the left side you will have the Navigation, and on the top right your shortcuts and settings.
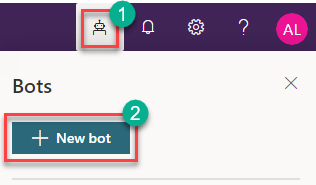
To start with your first bot, click on the bot button in your Office 365 Navigation Header (shown as #1 in the image below). This will pop open the bots panel. The bots panel will display the New bot button (shown as #2 in the image below) as well as any existing bots that you may have already created and want to edit.
Once you click on the New bot button the Create a new bot popup will be displayed. Enter the name of the bot that you want to create, and under More options you can select the environment where you want to use the bot (in case you have more than a single environment). Click on the Create button when you are ready to create the bot.
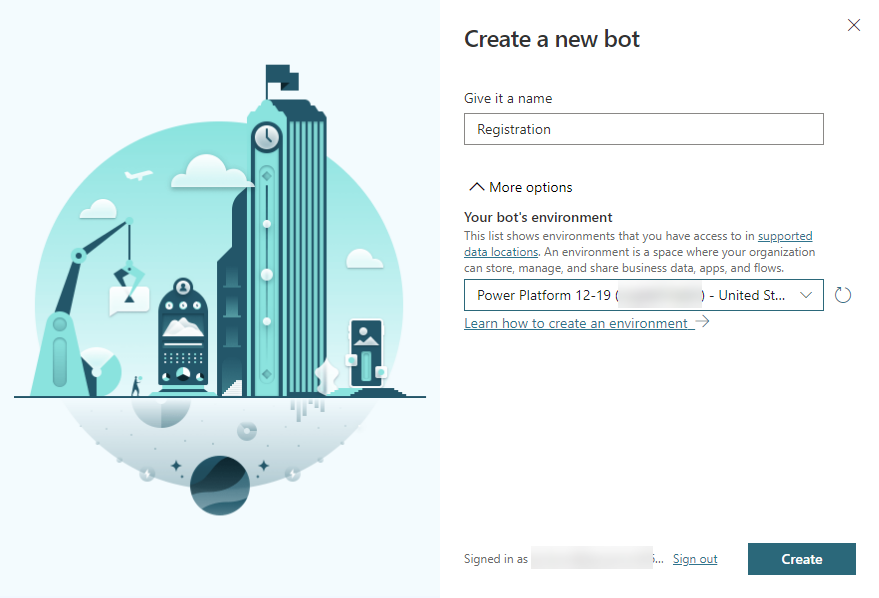
Once the Create button has been clicked, Power Virtual Agents will start the process of creating the new bot. This can take a few minutes to complete. In the interim the screen below will be displayed.

There are many different things that we can do to create a fully functional bot, but in this case we will create a simple bot with just a few questions.
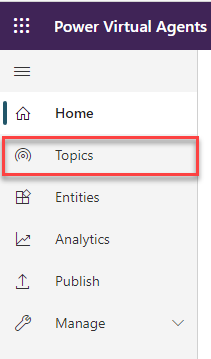
When the bot has been created, we can click on Topics to start authoring the different topics that we want to use for our bot. Topics have trigger phrases, which are phrases, keywords or questions that are likely to be entered by a user regarding a particular issue. These topics are used to define how the bot should answer and what actions it should perform. There can be up to 1000 topics in a bot.
To start creating Topics we first need to click on the Topics link on the left hand navigation.
Once the Topics page opens up, we click on the New topic button in order to create a new Topic. We can also click on an existing topic to make changes to it. The Topic window shows up. We enter a name and optional description for the Topic, and then start entering Trigger phrases.
For example, if we want to respond to questions regarding a Tax Payer Id Number, we can add a few triggers such as:
- How many digits is my Taxpayer Id Number?
- Do I need to enter a hyphen or dash in my Tax Payer Id?
- Can I enter an ITIN instead of EIN?
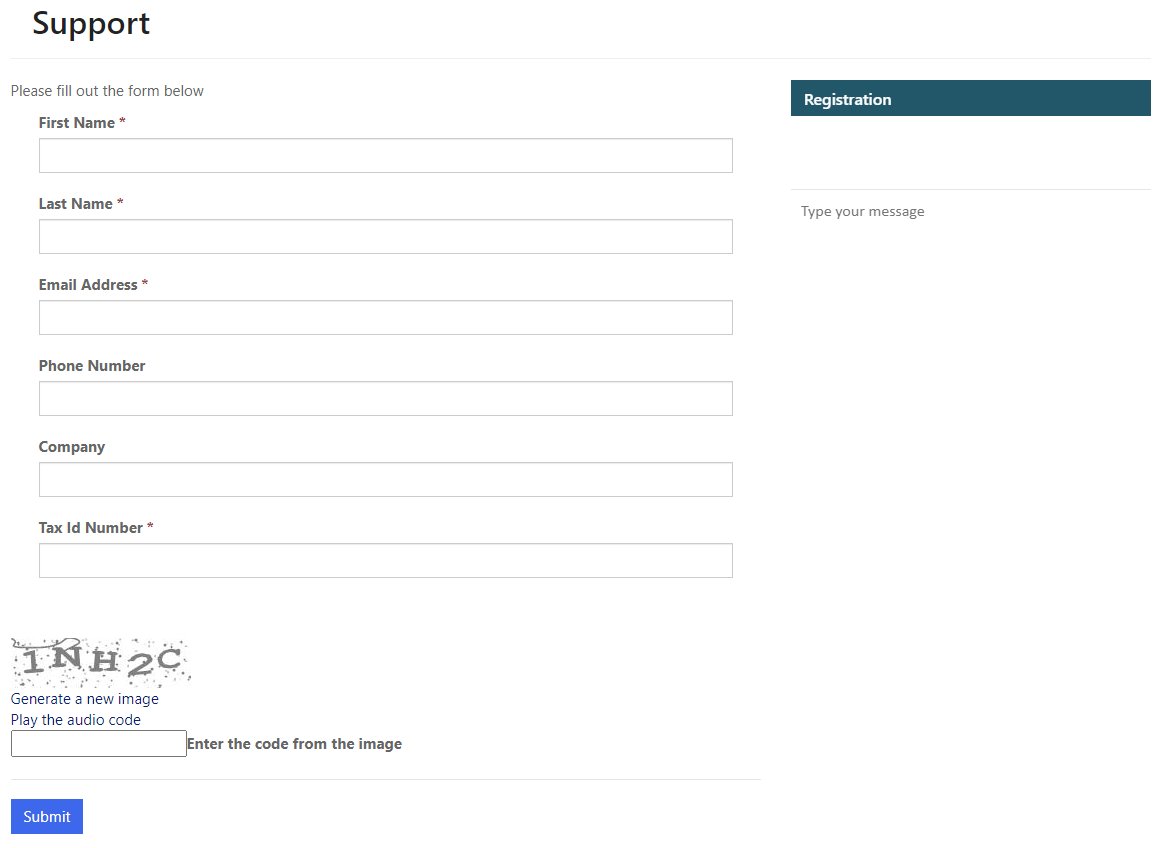
The screenshot below shows a sample Required fields trigger for First Name, Last Name and Email Address and a few possible triggers.
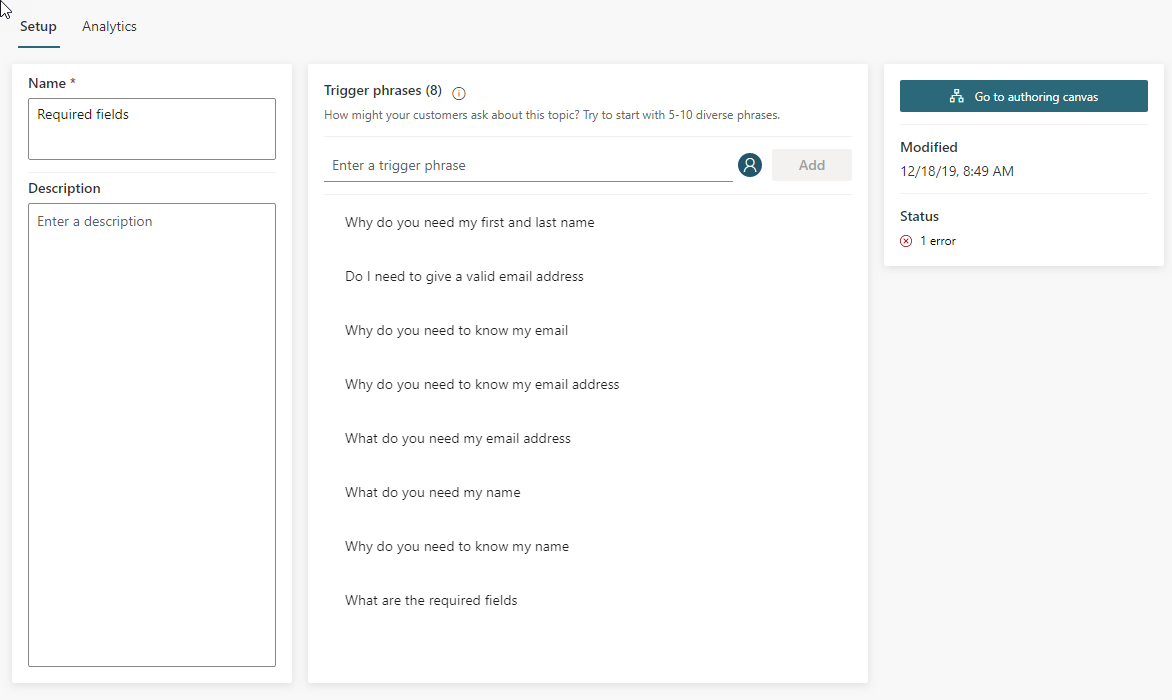
When all the triggers have been specified, we Save the Topic, and click on the Go to authoring canvas button on the right hand side to start authoring the logic that will be displayed when the user asks the question.
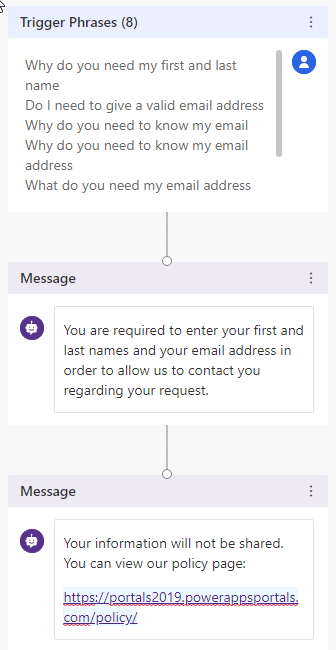
Within the authoring canvas we will see a first node containing the Trigger Phrases. We can add different nodes after the Trigger Phrases which include:
- Ask a question
- Call an action
- Show a message
- Go to another topic
- End the conversation
In this particular example we will just add a couple of messages after the questions to display information about the reasoning for asking the information that we asked.
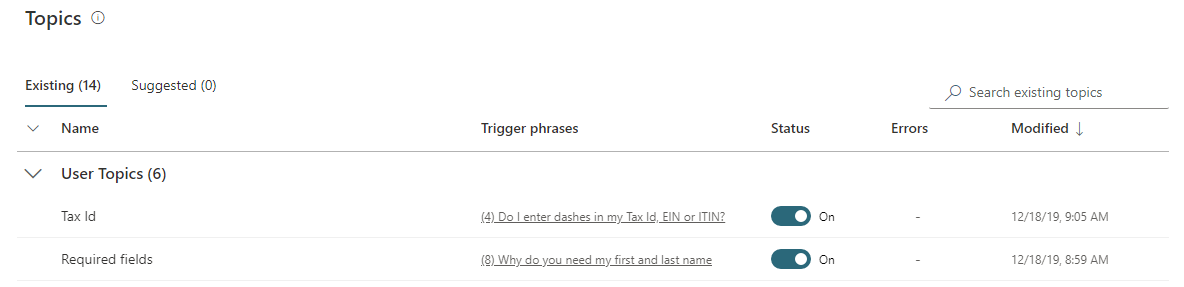
After authoring the topic, we can save the topic and will see it in the list of Topics on the Topics page. You will notice the Topics have an On or Off Status, which means that you can create Topics and disable them until they are ready to use.
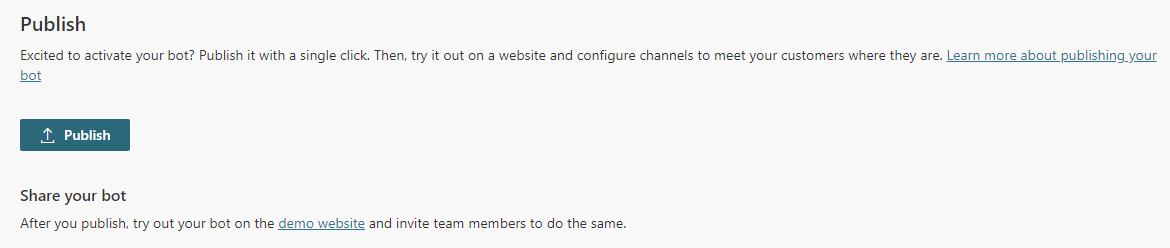
The final step in designing the bot is publishing it. After a bot is published, it can be used in a wide variety of applications such as Custom Web Site, Portal, Teams and more.
Click on the Publish navigation link on the left hand side, and on the Publish page, click on the Publish button to Publish the bot.
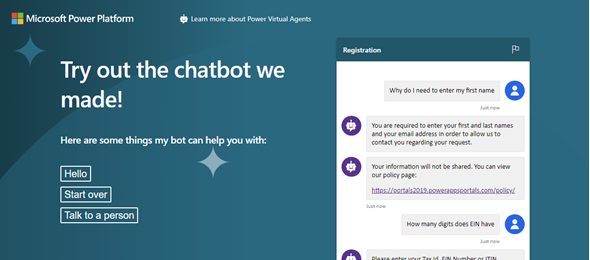
After the bot has been published, we can click on the demo website to see how the bot will look and behave in response to particular actions.
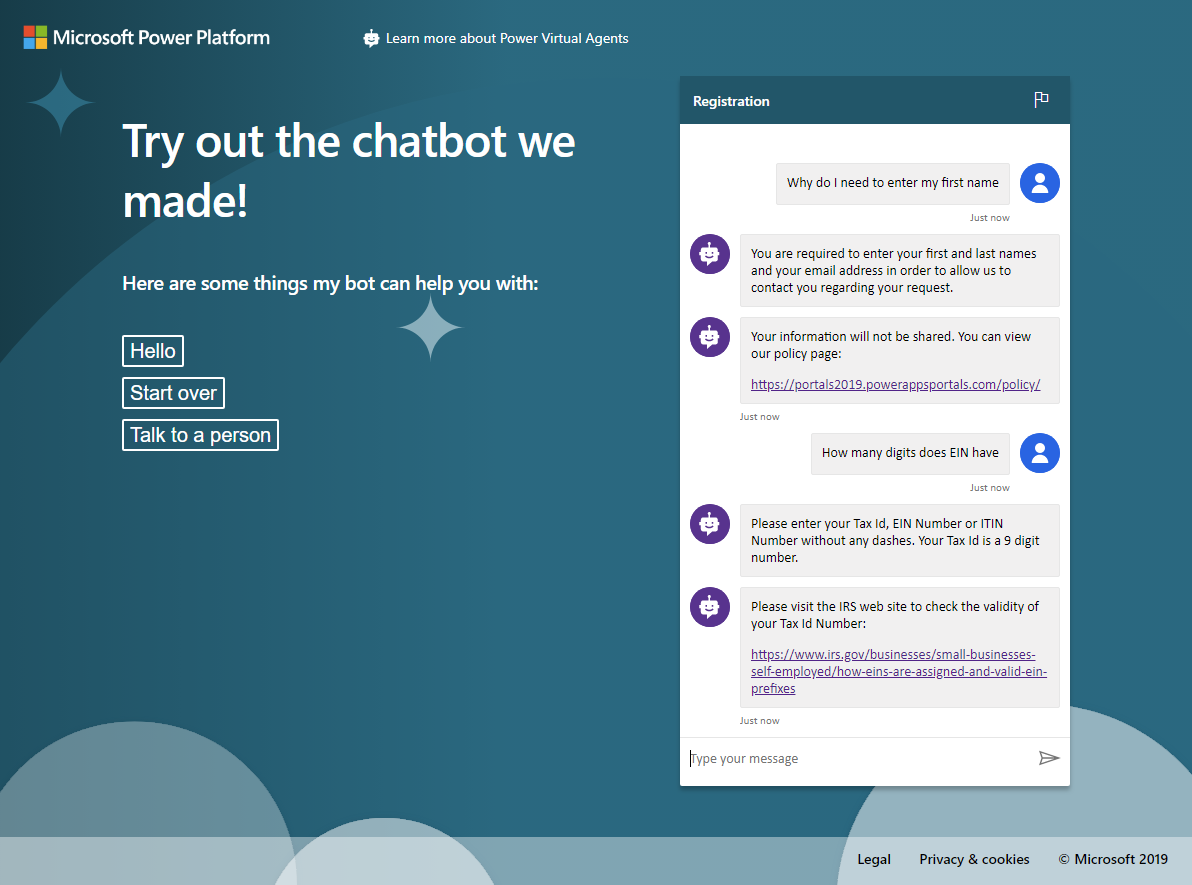
When we are satisfied with the bot, we can add it to our Power Apps Portal site or page, by adding the custom code to the Portals page. We navigate to the Channels page by clicking on Channels on the left navigation, and then select the Custom website channel.
First, we copy the code from the Custom Website under the Embed code panel. Then we open the required page on our Power Apps Portal site, and click on the code editor. In the area where we want to display the bot, we will paste the code:
<iframe src=”https://powerva.microsoft.com/webchat/bots/00000000-1111-2222-3333-444455556666″ frameborder=”0″ style=”width: 100%; height: 100%;”></iframe>
Save the changes to your Power Apps Portal page, and navigate to the page to see how it looks. You should now be able to see the bot on your page in Power Apps Portal.
You should be able to create a bot and embed it on your web page in just a few minutes. For developing more comprehensive bots, visit the Microsoft Power Virtual Agents documentation site by following the link below: